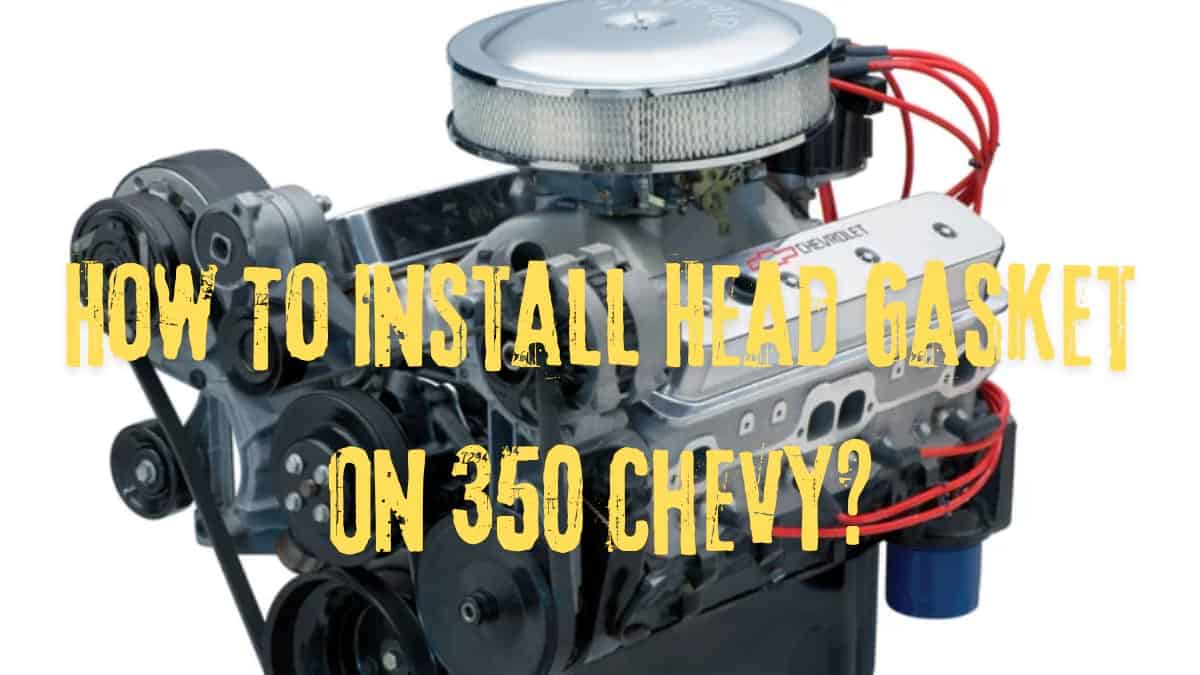
Hey there, what’s up? Do you want to know: How to install head gasket on 350 chevy? If you want to know that this guide is helpful for you.
How To Install Head Gasket On 350 Chevy? Step By Step Guide

Installing a head gasket on a Chevy 350 involves several steps. Here’s a general guide:
Step-1. Prepare the Work Area: Ensure the engine is cool before starting. Disconnect the battery to prevent any electrical mishaps. Place a clean cloth or rag over the exposed cylinders to prevent debris from falling into them.
Step-2. Remove the Old Head Gasket: Remove the cylinder head(s) according to the manufacturer’s specifications. This typically involves removing the valve covers, rocker arms, pushrods, and intake manifold. Once these components are removed, you can access the cylinder head bolts. Loosen and remove them to lift off the cylinder head.
Step-3. Clean Surfaces: Thoroughly clean the cylinder block and cylinder head mating surfaces using a gasket scraper and solvent. Make sure there’s no residue left that could interfere with the seal of the new gasket.
Step-4. Inspect: Check the cylinder head and engine block for any signs of damage or warping. If you find any issues, they may need to be machined or repaired before proceeding.
Step-5. Prep the New Gasket: Place the new head gasket onto the engine block, ensuring it is correctly oriented. Some gaskets are marked to indicate the correct direction.
Step-6. Reinstall the Cylinder Head: Carefully lower the cylinder head back onto the engine block, aligning it with the dowel pins. Install the cylinder head bolts and torque them to the manufacturer’s specifications in the proper sequence. This usually involves tightening them gradually in a crisscross pattern to ensure even pressure distribution.
Step-7. Reassemble Components: Once the cylinder head is securely in place, reassemble the components you removed earlier, including the valve covers, rocker arms, pushrods, and intake manifold. Follow the manufacturer’s torque specifications for these components as well.
Step-8. Check and Adjust: Double-check all connections and components to ensure everything is properly installed. This is also a good time to check and adjust valve clearances if necessary.
Step-9. Refill Fluids: Refill the engine with coolant and engine oil as needed.
Step-10. Test Run: Start the engine and let it idle for a few minutes to check for any leaks or abnormalities. Keep an eye on the temperature gauge to ensure the engine is operating within normal parameters.
Step-11. Final Inspection: Once you’re satisfied that everything is in working order, shut off the engine and perform a final visual inspection to make sure nothing was overlooked.
Step-12. Dispose of Old Parts: Properly dispose of any old gaskets, seals, or fluids according to local regulations.
How To Increase Torque In A Naturally Aspirated Engine?
Do I need to put sealant on a head gasket?
Using sealant on a head gasket is generally not recommended. Head gaskets are designed to seal the combustion chambers and prevent leakage of coolant and oil between the cylinder head and engine block. Proper installation of the head gasket, along with proper torque specifications, is crucial for ensuring a reliable seal.
Adding sealant to a head gasket can actually create more problems than it solves. Sealant may interfere with the proper compression of the gasket, leading to leaks or even failure.
How To Decrease RPM With Pulleys? Easy guide
How do I know if my head gasket is blown 350?
Detecting a blown head gasket in a Chevy 350 engine (I assume you’re referring to a Chevrolet 350 cubic inch V8 engine) can be crucial for the health of your vehicle. Here are some signs that might indicate a blown head gasket:
- Overheating: If your engine is frequently overheating or if the temperature gauge is constantly showing high temperatures, it could be due to a blown head gasket allowing coolant to leak into the cylinders or combustion chambers.
- White Smoke from Exhaust: Excessive white smoke coming from the exhaust, especially if it has a sweet smell, can indicate coolant leaking into the combustion chamber and being burned along with the fuel.
- Milky Oil: Check the engine oil by removing the oil filler cap or by examining the dipstick. If the oil has a milky or foamy appearance, it could be contaminated with coolant, indicating a head gasket leak.
- Loss of Coolant: If you notice a sudden drop in coolant levels without any apparent external leaks, it could be a sign of coolant loss due to a blown head gasket.
- Bubbles in Radiator or Overflow Tank: With the engine running, check the radiator or overflow tank for bubbles. Continuously bubbling coolant can suggest combustion gases entering the cooling system through a blown head gasket.
- Poor Engine Performance: A blown head gasket can cause a decrease in engine performance, including rough idling, misfiring, or a noticeable lack of power.
- Coolant in Cylinders: A compression test or a cylinder leak-down test can help identify if coolant is leaking into the cylinders through a blown head gasket.
How To Install Head Gasket Sealer? Easy Installation
[Thanks for Reading]

