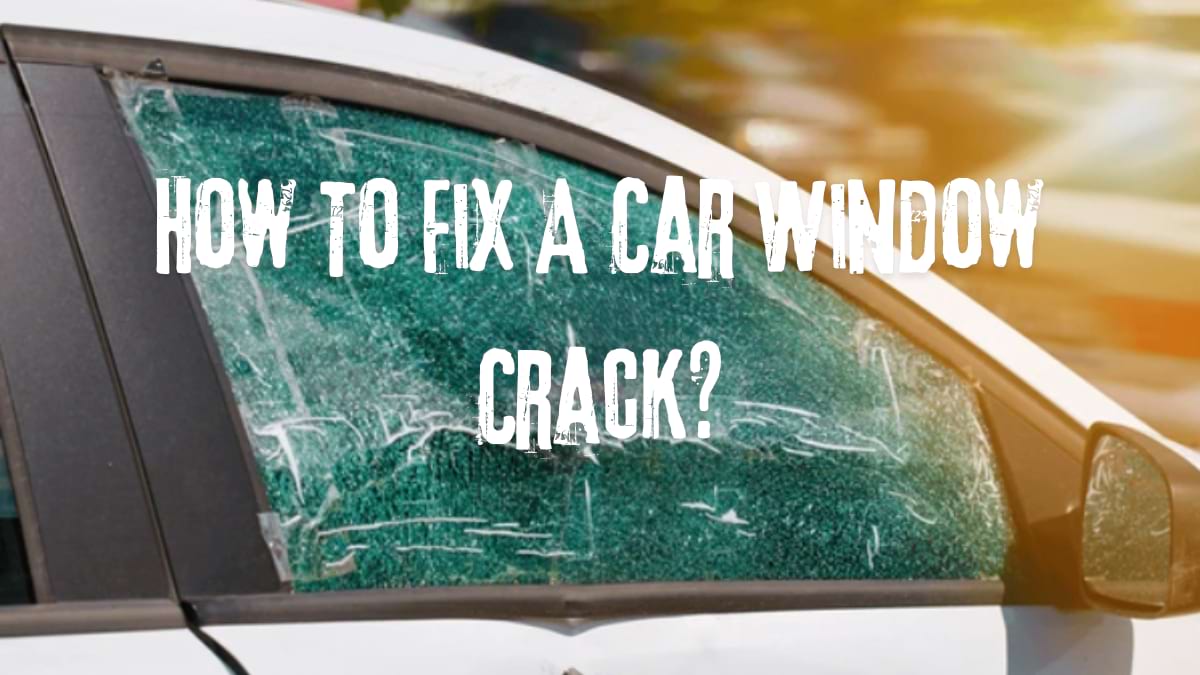
Hey there, what’s up? Today I will guide you: How To Fix A Car Window Crack? Whether it’s a small chip or a creeping crack, a damaged car window can be a frustrating and potentially dangerous issue. Addressing it promptly not only ensures your safety on the road but also prevents further damage and costly repairs. So, let’s see how to fix a car window crack.
How To Fix A Car Window Crack? Step By Step Guide

Here’s a step-by-step guide to help you:
Materials Needed:
- Windshield repair kit (available at auto parts stores or online)
- Microfiber cloth
- Razor blade or utility knife
- Rubbing alcohol
- Clear nail polish (optional)
- Protective gloves (optional)
Step 1: Assess the Damage: Examine the crack to determine if it’s repairable. If the crack is longer than a few inches or if it’s spreading rapidly, it may require professional attention.
Step 2: Clean the Area: Using a microfiber cloth and rubbing alcohol, clean the area around the crack to remove any dirt, debris, or glass particles. Ensure the area is completely dry before proceeding.
Step 3: Apply the Repair Kit: Follow the instructions provided with the windshield repair kit. Typically, this involves attaching a suction cup tool over the crack, injecting resin into the crack, and then applying a curing strip or UV light to harden the resin. Apply pressure to ensure the resin fills the crack completely.
Step 4: Allow the Resin to Cure: Depending on the type of resin used, curing time may vary. Follow the manufacturer’s instructions regarding the curing process. Typically, you’ll need to wait at least 30 minutes to an hour for the resin to fully harden.
Step 5: Scrape Off Excess Resin: After the resin has cured, carefully scrape off any excess resin using a razor blade or utility knife. Be gentle to avoid damaging the surrounding glass.
Step 6: Apply Nail Polish (Optional): If there are still minor imperfections or if the crack is still visible after the repair, you can apply a thin layer of clear nail polish over the area. This can help to further seal the crack and improve the appearance.
Step 7: Clean the Glass: Once the repair is complete, clean the entire glass surface with a microfiber cloth and glass cleaner to remove any residue.
Step 8: Monitor the Repair: Keep an eye on the repaired crack over the next few days to ensure it doesn’t worsen. If you notice any further spreading or damage, consult a professional for further repairs.
Remember, while DIY repairs can be cost-effective, they may not always provide a permanent solution.
Pros and Cons of Head Gasket Sealer
Can I fix a crack in my windshield myself?
Yes, you can fix a crack in your windshield yourself using a windshield repair kit. These kits are designed for DIY use and typically include all the necessary materials and instructions to repair small cracks and chips in your windshield. However, it’s important to note that these DIY repairs are best suited for minor damage and may not be effective for larger cracks or damage near the edges of the windshield.
If the crack is longer than a few inches, spreading rapidly, or located in a critical area such as the driver’s line of sight, it’s recommended to seek professional assistance.
Before attempting a DIY repair, carefully read the instructions provided with the windshield repair kit and assess the damage to determine if it’s suitable for self-repair. If you’re unsure or uncomfortable with the process, it’s always best to consult a professional auto glass repair technician.
How To Increase Torque In A Naturally Aspirated Engine?
How to repair a glass crack?

Repairing a glass crack, whether it’s on a car window, a home window, or any other glass surface, typically involves filling the crack with a specialized resin to prevent it from spreading further and to restore structural integrity. Here’s a general step-by-step guide for repairing a glass crack:
Materials Needed:
- Glass crack repair kit (available at hardware stores or online)
- Clean cloth
- Rubbing alcohol
- Razor blade or utility knife (for cleaning excess resin)
- Protective gloves (optional)
Step 1: Assess the Damage
Examine the crack to determine if it’s repairable. If the crack is too large or if it’s in a critical area (such as a windshield), it may require professional attention.
Step 2: Clean the Area
Using a clean cloth and rubbing alcohol, thoroughly clean the area around the crack to remove any dirt, debris, or moisture. Before proceeding, ensure the area is completely dry.
Step 3: Apply the Repair Kit
Follow the instructions provided with the glass crack repair kit. Typically, this involves applying a resin or adhesive into the crack using an applicator or syringe provided in the kit. Apply enough resin to fill the entire crack.
Step 4: Allow the Resin to Cure
Depending on the type of resin used, curing time may vary. Follow the manufacturer’s instructions. Typically, you’ll need to wait several hours for the resin to fully harden.
Step 5: Scrape Off Excess Resin
After the resin has cured, carefully scrape off any excess resin using a razor blade or utility knife. Be gentle to avoid damaging the surrounding glass.
Step 6: Polish the Area
If the repaired area is still rough or uneven, you can use a glass polish or a fine-grit sandpaper to smooth it out. Follow the manufacturer’s instructions for the polishing process.
Step 7: Clean the Glass
Once the repair is complete, clean the entire glass surface with a clean cloth and glass cleaner to remove any residue.
Step 8: Monitor the Repair
Keep an eye on the repaired crack over the next few days to ensure it doesn’t worsen. If you notice any further spreading or damage, consult a professional for further repairs.
[Thanks for Reading]

